Well I always post up my DIYs on here too have been for ever so why not continue. You guys helped me out a lot so far wit this build so I give back a little.
In this specific DIY, the example engine is an F22A6.
Required:
Tools:
1/4NPT tap
M12x1.25 tap
M10x1.5 tap
M8x1.25 tap
JB weld
RTV grey
Teflon tape
Hack saw
M8 hex bit
M10 hex bit
Extended length (8 inches or so) M8 hex bit/allen key.
Various engine disassembly tools and hammers/sockets, ratchets.
Parts:
1" Frost plug
40mm Frost plug
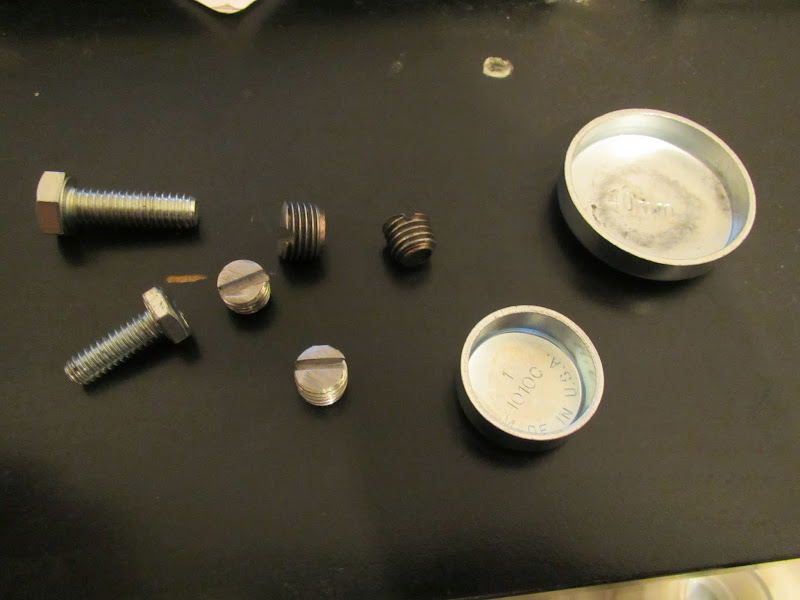
3x Honda 12mm head, M8x1.25, One fully threaded with about 20mm of thread.
1x M12x1.25 Honda bolt
3x M10x1.5 Generic M10 bolts
Flush mount hex drive 1/4 NPT plug
Pulled the BS's out. Wont get into details on this.
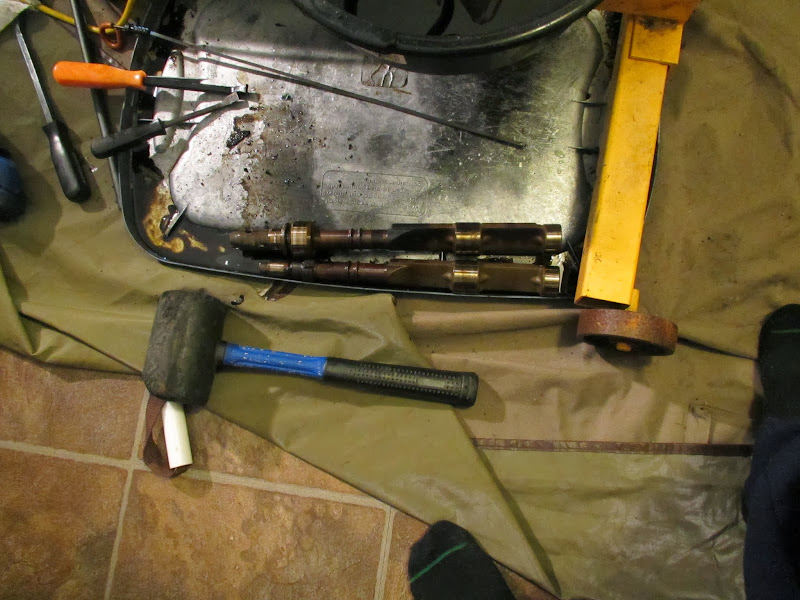
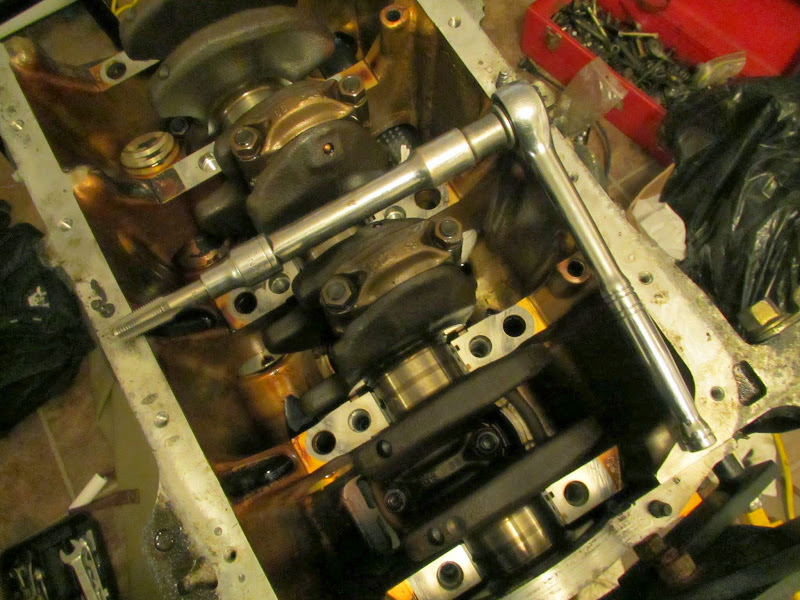
Here you can see the steel main caps still attached to the aluminium girdle. You need to remove those. Its easy, theres nice spaces under them you can fit a prybar and a little wiggling and they pop right off.
The dowels that align the main caps to the aluminium girdle will need to be pulled out of the girdle so you can tap the holes for plugs. I removed mine very carefully with round grip vice grips and wiggled them out. Try your best not to mangle them because they need to go back in.
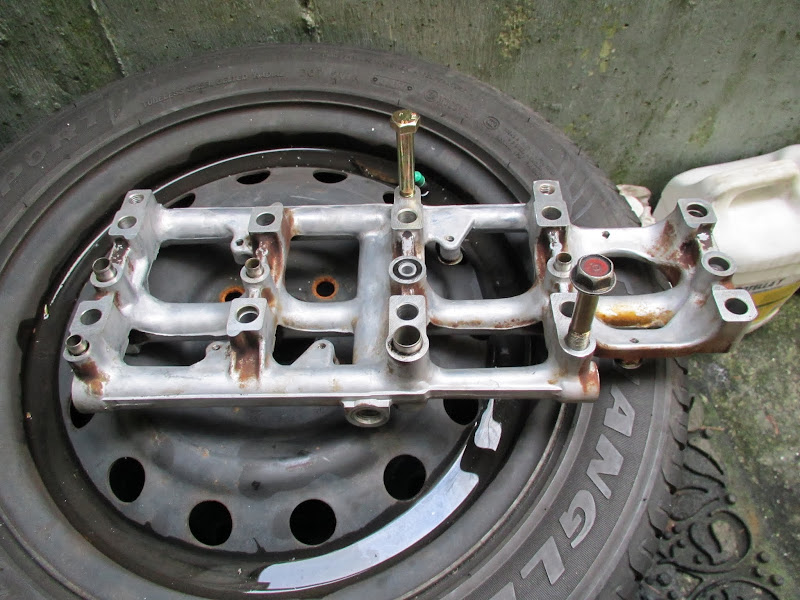
All the holes have been tapped to block oil flow in the girdle to the balance shafts. These holes require ZERO drilling. Just grab the right tap, M10x1.5 for the smaller ones, M12x1.25 for the bigger one, and tap those sluts!
Obviously I still need to trim the bolts down and slot them so I can screw them in. But heres the general idea.
The smaller holes are tapped with M10x1.5. The larger hole M12x1.25.
You can see here, that the girdle has the hex cap plugs removed as well so I could flush it out. Lots of flakes came out from the tapping..
And a picture of the tapped hole, after its been cleaned out.
Next up I used a hack saw to cut the bolts down to be plugs and also to slot them. To slot them, screw the small plug into a nut and then pinch the nut in the vice, then cut the slot. Good tip.
I chopped the M10x1.5'ers to 5 thread lengths. 1.5x5 = 7.5mm total height of each plug.
The M12x1.25 I cut to 6 threads, which would be 7.5mm tall as well.
Not seen here, but you will see them later, are the 3x M8x1.25 Honda bolts that you might as well cut at the same time as the rest of them. Cut them about 6 thread lengths as well. There are only two you need to cut into plugs, the last one, leave complete, and it has to be about 20mm of threads long. I will explain more later.
I then cut slots into each of them so I can screw them in. I could even use a torque wrench to install them if I so choose.
I also had my parts master man from work order up me some frost plugs. 1" and 40mm. These are basically the only thing you will need to pay for.
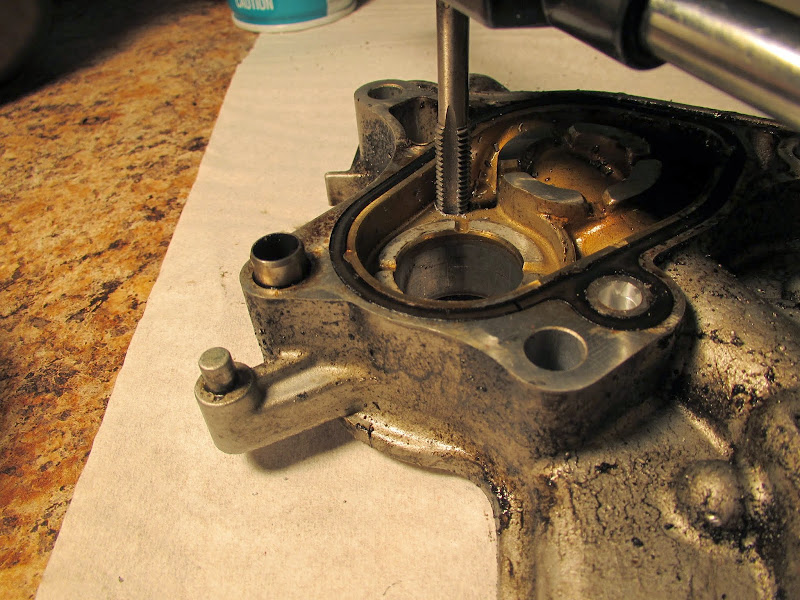
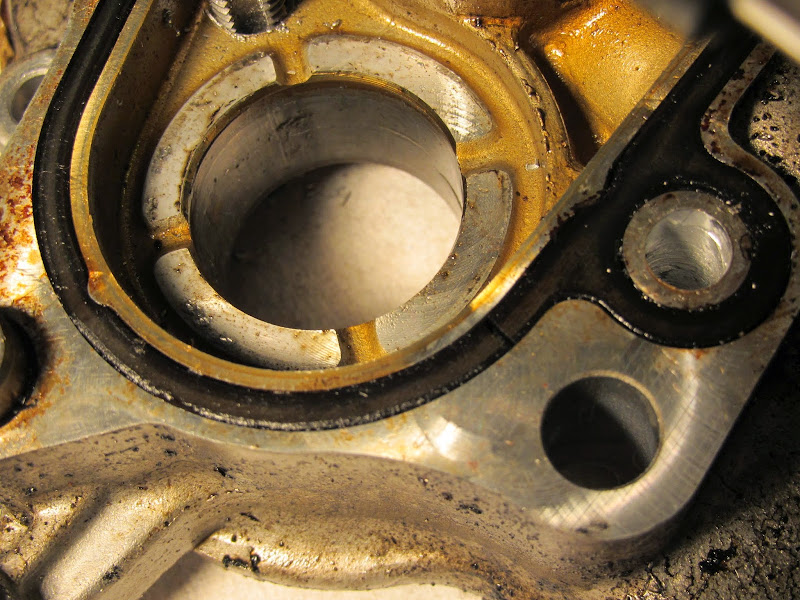
Started by tapping the various holes on the oil pump.
The two smaller ones I drilled out with 7/16ths drill bit before tapping. They are the pressure ports. The larger hole off to the side there is non pressure so I wasn't too worried about the loose-ish fit it has. No drilling required here.
Pictured below is the pressure port with a hole in it. This is where your 20mm long M8 Honda bolt will go. The length of the bolt is on purpose, so you block the hole off. Make sure to tap deep enough.
All drilled.

Tapping.
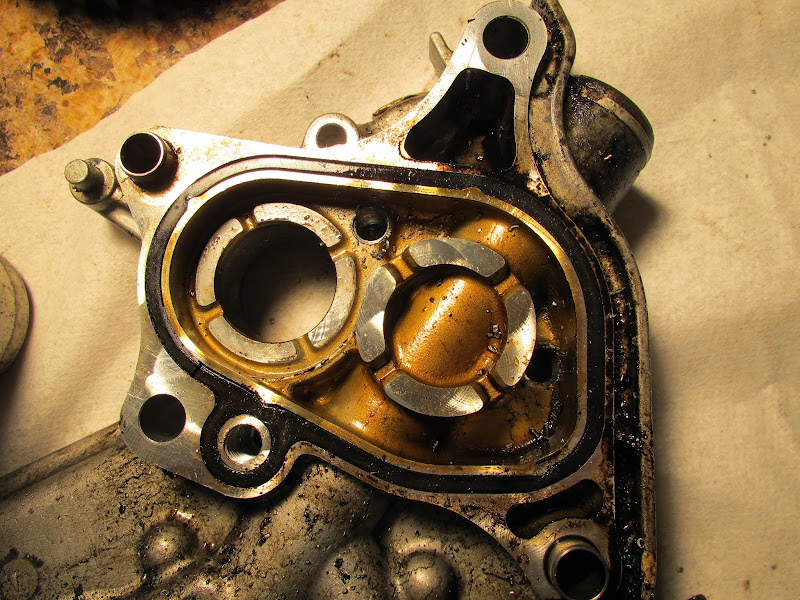
Done. The one to the far right is the loose one. I will use JB weld with the plug so it wont ever leak or come loose. Its a non pressure port so I am not worried.
Before you press in the frost plugs, take some sand paper and clean out the crud built up on there.
Crud.
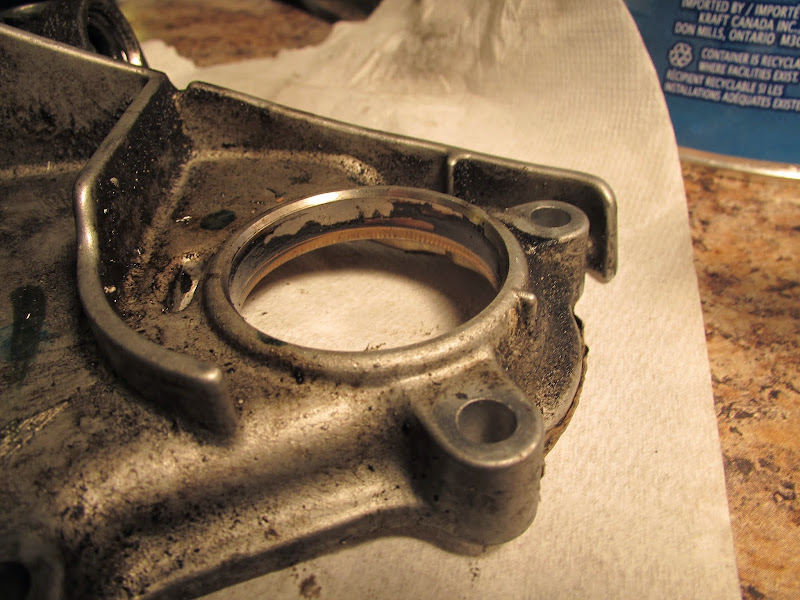
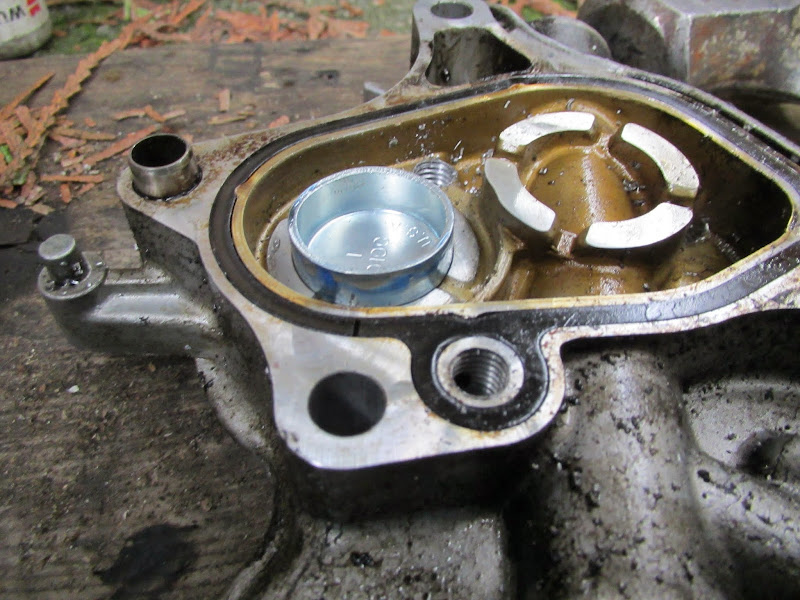
Now this specific hole, when you first take everything apart, will have a balance shaft bearing pressed into it. It was a TOTAL BITCH for me to hammer out. Good luck. It sucked. I used a hammer and, IIRC, a 15mm 1/2" drive impact socket, with a big ass socket under it to accept the bearing. You need to remove the bearing some how before you can put the 1" frost plug in.
Jagged edges from hammering out the bearing. Must be sanded down.

Side to side, round and round. Not in and out. Better grip for the plug. No routes for oil to seep.


Installing the frost plugs is like installing a seal. Just find a socket that fits it perfect and start tapping.
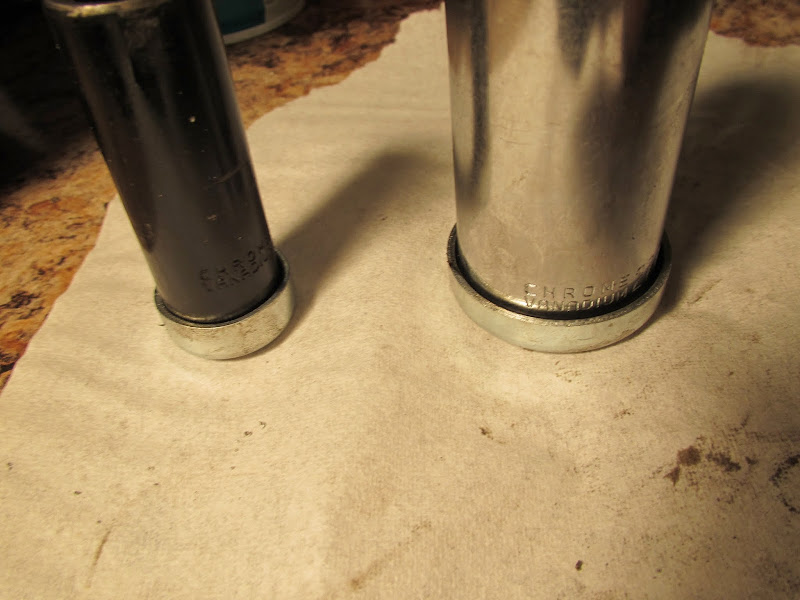
I used a 3/8ths 14mm impact socket for the 1" and a 27mm chrome 12pt 1/2" drive socket for the 40mm.
Some blue locktite around the frost plug before installing.

Outside we go to hammer. I used a piece of wood as a backing plate for the oil pump. Took more umph than I expected.

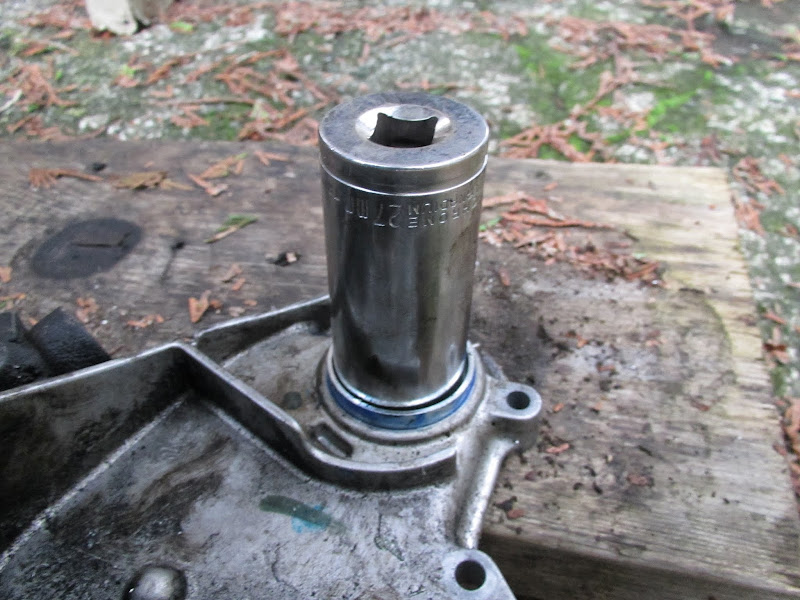


Just take your time, go back and forth from side to side of the socket as you hammer it in. Nice and deliberate strikes.

All done.

Not much required so far eh?

Here is a picture of the parts required so far. All that is missing is the 1/4" NPT plug for the block oil port.
The plugs in the middle are for the oil pump. The Honda bolt is for the oil pump to plug one of the holes. The JB weld is and RTV is for sealing the oil pump bolts.
The plugs at the bottom are for the girdle up top. Screw those in with the teflon tape and then reinstall the dowels.
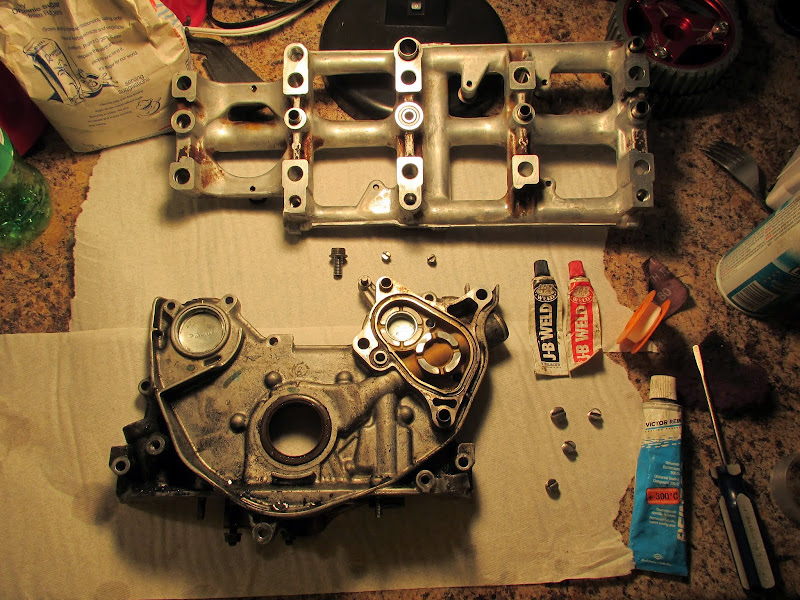
MS Painted. Haha

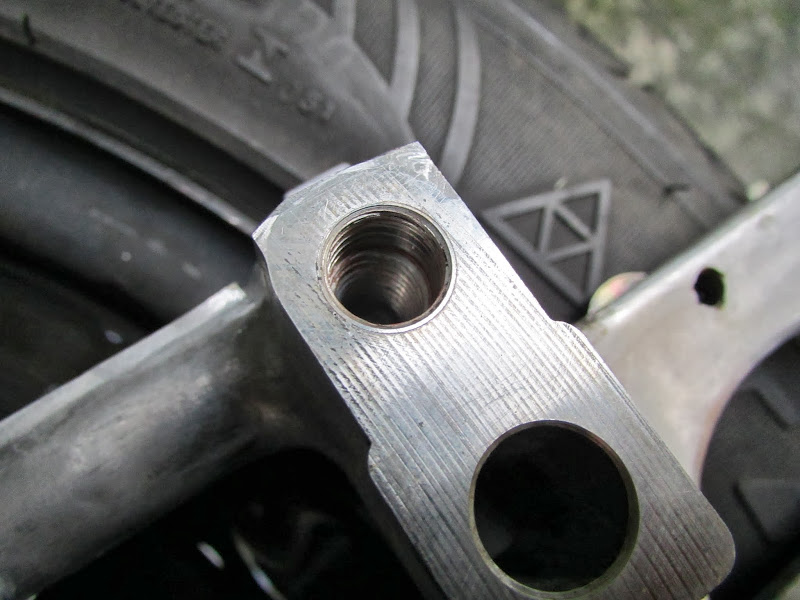
To plug the last hole... The last hole is in the block itself. You need to plug it at the block because if you plug it at the girdle you will be blocking a HUGE amount of oil flow to the oil filter and the engine itself. So it MUST be done at the block right at the entry to the oil hole for the BS bearing. If I ever did it again, I would just rotate the bearing, if at all possible. They are really in there good.
Picked up some 1/4" NPT "flush mount" hex drive plugs.

The 1/4" NPT tap, a 10mm 12 point socket, extension and ratchet. I used a 3/8ths inch ratchet to get better feel when to back off of cutting.

Plugged up the port so no debris comes out.


Remove this plug, and block off the oil port before you start to tap.

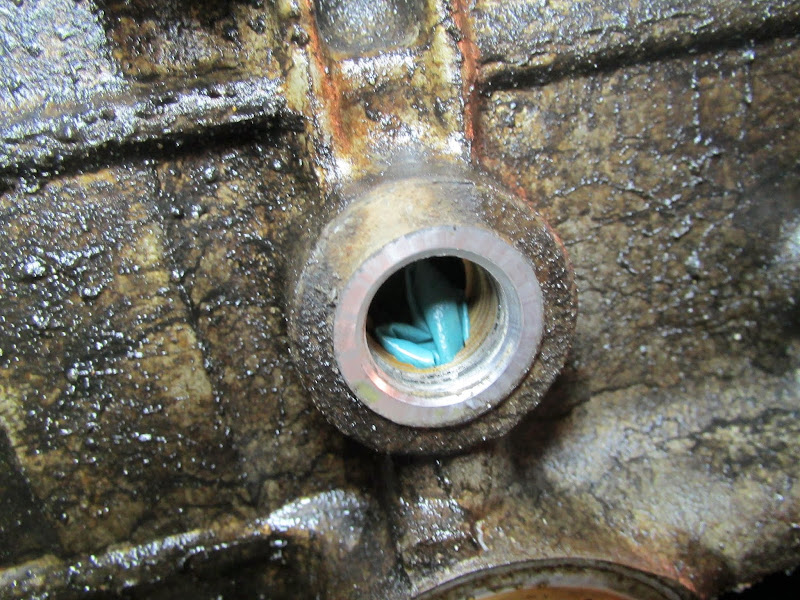
No drilling is required for this hole. Just rap the tap down there and start to tap.
Start tapping, go easy, back and forth, and stop once you completely bottom out. No harm or fowl in pulling the tap out a few times to see how far down you actually are. Better than snapping a tap off in your block. NPT is a total bitch to tap, especially if you mess up and tap it on an angle. And it just so happens, the way the casting is on this specific F22A6 block, it has a weird lip that totally wants to cock off a tap. So be warned and be careful.
Once you are done tapping, flush out the orifice completely. I used brake clean. I would advise using compressed air first and after with brake clean as well.
Time to screw that bastard NPT hex plug in. I used some RTV on the threads, and did it up as tight as I dare as I watched the long 1/4" hex bit twist. haha.
This IS an oil flow port to the oil filter from the pump, after going through the girdle. So the lower the profile of the plug you can get, the better. I was going to cut it down and run it through a die but really I think it should be fine as is.

Next up, finish off the oil pump.
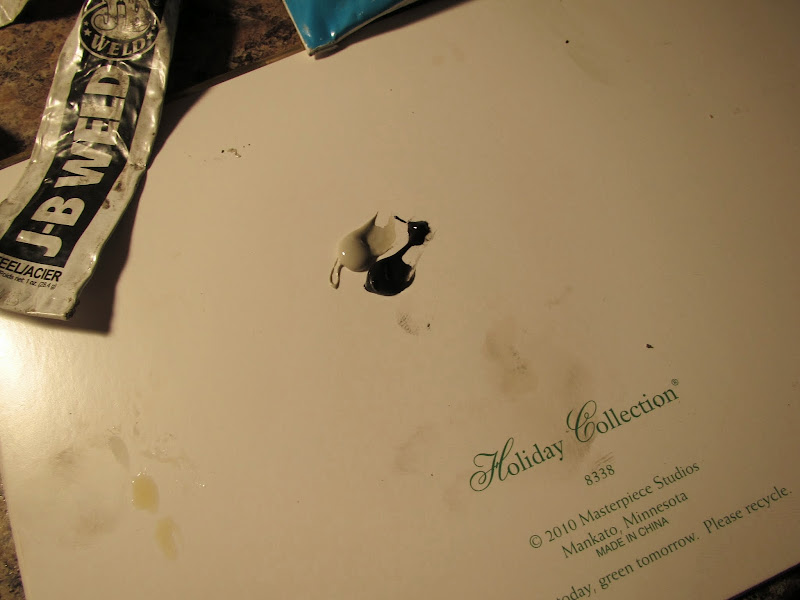
Mixed up the JB weld, equal 50/50 on a laminated surface.
As you can see, this card from 2010 has expired its time on the mantle and is now being recycled. Haha.
Nice coat around the whole plug.

Screwed in and lathered around. Did the same for the other side as well to seal it up real nice.

And here you can see how when you tighten this bolt down, the aluminium vs steel will act as a crush washer and seal up. Still, I used a good coating of RTV on the threads of this bolt.
Torque it down tight.

All done.

Lastly the girdle holes. I wrapped these things like 15 times around with teflon tape!! Haha. It was OK to use I guess, I know it will seal 100% which is the good thing. The bad part was having to pick out the teflon hairs from the top of the plugs. But oh well! Clean that stuff out 100% you dont want it to plug any oil ports.
And while we are on the topic, the same applies to RTV. Use it as sparingly as you can. You really dont want chunks to fly off and clog up small oil ports to things like crank bearings or rod bearings!

Weapon of choice for torquing them down.

All done. Phew.

The last steps are basically to reinstall the dowels into the girdle, use a piece of 2x4 and a hammer and beat them back in after you clean them up with some sand paper so theres no sharp edges to grab the aluminium. Since you had to pry them out with vice grips, or if they are at all damaged, I would advise to put the damaged side into the aluminium and the "clean" end would go into the main cap.
Reassemble it all and enjoy some free torque. All it cost me, since I already had all the tools and chemicals, was the cost of the frost plugs!


 Author
Topic: DIY H/F Balance shaft removal for almost free (Read 51877 times)
Author
Topic: DIY H/F Balance shaft removal for almost free (Read 51877 times)